Enable and configure Exchanges
ProfitView supports a lot of different exchanges. But you need to enable and configure them first.
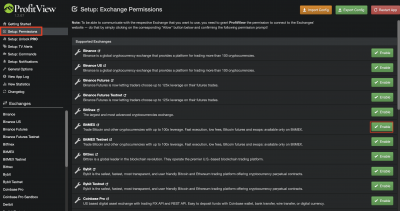
- Open the PV options and click “Setup: Permissions” on the left side. Then click on the “Enable” Button next to the exchange you want to use. In this tutorial we will do the steps for Bitmex, but the other exchanges follow the same steps.
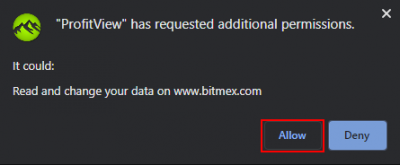
- A Pop-up window will appear asking for permission to access the website of the exchange. You need to enable that, otherwise ProfitView will not work
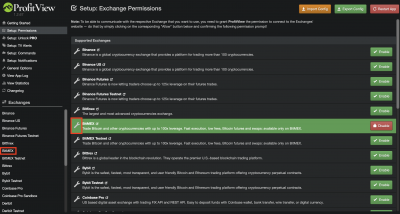
- Once access is granted, you can configure the exchange. Either chose it on the left side, or click the wrench icon.
- For each exchange you can globally adjust settings concerning the error handling for all accounts of that exchange. Each alert in PV can still have its own error handling settings.
Click on any of the “Add Account” buttons to proceed.
- Account Name: a unique identifier which helps you and PV to differ, in case you use several accounts. If you only use one account for the exchange, you can leave it as *.
“ID” and “Secret” you get when creating the API Key on the exchange. Make sure to give it the correct permission when creating it on the exchange. For Bitmex, it needs to be “Order” and not “Order Cancel”. Never enable withdraw permissions for that API Key.
Don't forget to save your account(s) on a regular basis by clicking the green “Save Accounts” button on the top right or by pressing CTRL+S.


